2

I am having two separate issues. One is specific to this particular model, the other is on all my prints, but more pronounced on 90° vertical walls.

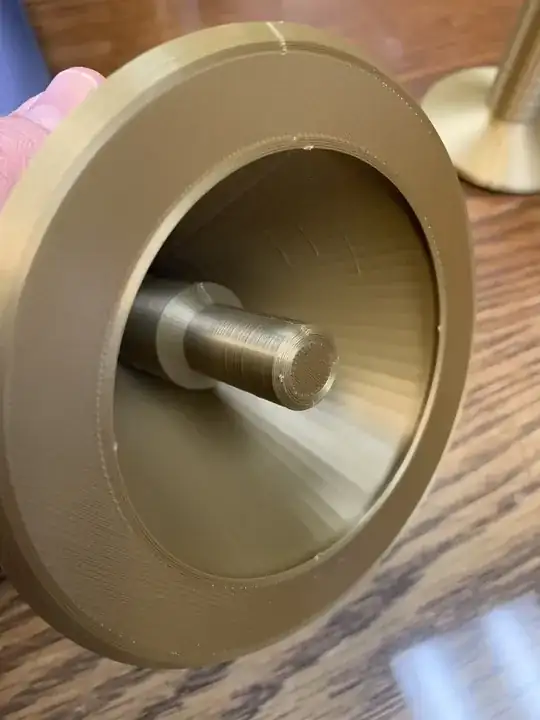
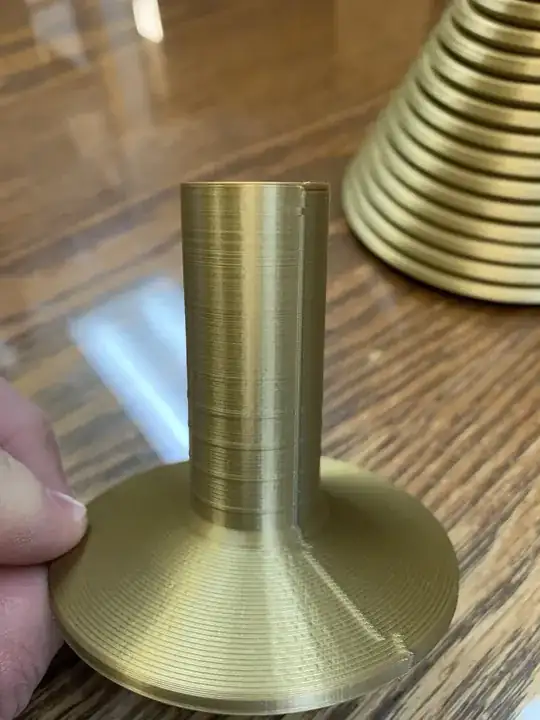
The first issue is a localized area of under extrusion only in one area of the print. This issue is specific to this model. The second issue is evenly spaced horizontal bulges that appear approximately every 5mm during the first 30-35 mm of the print. This is a two-piece Christmas tree I designed for my wife and I have been printing both pieces together on the build plate.

I am printing on a mostly stock Voxelab Aquila with Voxelab Gold 1.75 mm PLA. I have changed the stock extruder to the aluminum extruder after the plastic one cracked, and am running a Satsana style shroud with stock fans. I am using CHEP's Cura 4.11 Ender 3 profile for .2 mm (good) - CHEP Cura Profiles, printing at 200 °C and 40 °C bed temp. I have lubed my Z screw with white lithium grease, checked that belts are tight and no screws or physical connection points are loose. I checked to make sure that the eccentric nuts are snug but not binding the gantry. I have calibrated my extruder E-steps and changed the value to 96.

Can someone offer me some guidance on where to go from here?
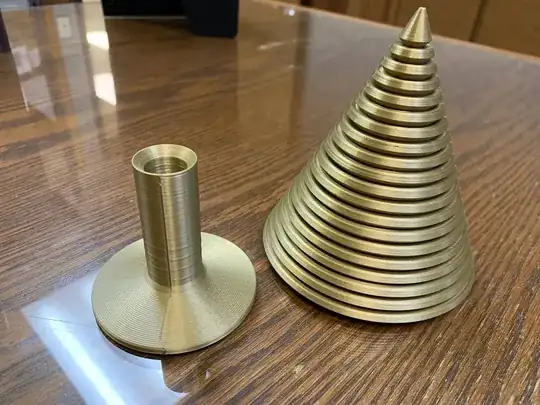
Photo of a 3D printed two-piece Christmas tree

Photo of the inside of the top part of Christmas tree

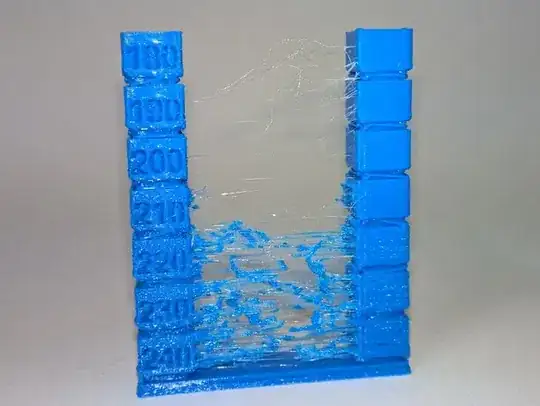
Photo showing the printing errors inside the top of the Christmas tree

Photo of horizontal bulges on the base of Christmas tree

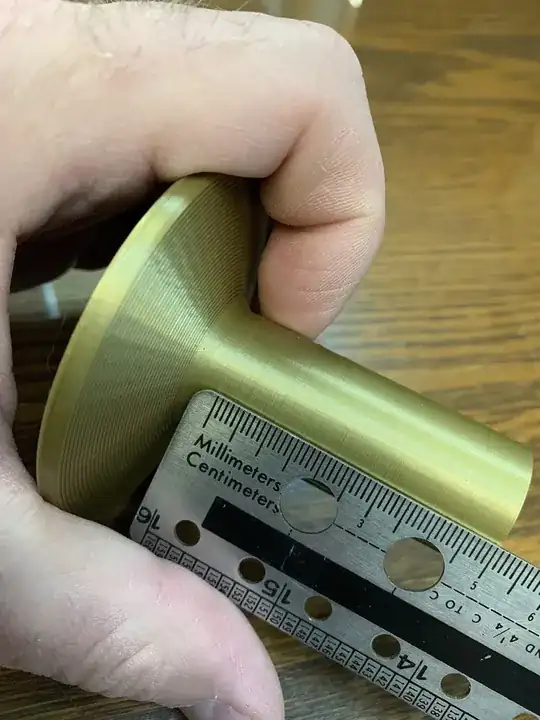
Photo of ruler measuring the evenly spaced horizontal bulges on the base of Christmas tree

agarza
  • 1,334
  • 2
  • 10
  • 30
  • 1
    Looks like a z-seam. See https://3dprinting.stackexchange.com/questions/15776/how-to-get-less-z-seam – Perry Webb Dec 10 '21 at 15:05
  • It is not the vertical Z seam, I am referring to the horizontal banded bulges as seen on pictures 4 and 5 of my post. I have been trying to find a mechanical cause for them but have been unsuccessful thus far. I was able to fix the under extrusion by raising my printing temperature to 205 °C. – Jared Robinson Dec 10 '21 at 23:49
  • The horizontal bands may be instability in your Z axis. – user10489 Dec 11 '21 at 00:14
  • What slicer and infill pattern and percentage are you using? While a Z axis issue is the most likely cause, things like this can also be a result of layer-dependent oozing in the infill area due to the way the infill pattern changes layer by layer, if travel in the infill area is done without retraction. Knowing the infill settings and slicer would allow computing the period one would expect for such an artifact. – R.. GitHub STOP HELPING ICE Jun 10 '22 at 23:32

2 Answers2

2

The horizontal bands are 5mm apart, which is a common pitch for the screws often used for the Z axis.

I would look for something that binds, moves, slips, or touches once per screw revolution. The movement repeats along the screw, so if it is a screw defect I would look for a scratch or bump that affects the screw along its axis.

If you don't see that, check for how the screw is constrained at both ends. If they are loose constraints, does the screw wiggle while it is turning?

Move the nut to one extreme and rotate the screw. Does it appear to have any bend? Even a small degree of bending that doesn't bind the axis can add a small load to the drive.

The Z-azis error you are looking for is subtle. It is probably 10% (or less) of the layer height.

cmm
  • 4,418
  • 10
  • 36
  • 5 mm common? For ball screws (1605), yes, but not for trapezoid screws, that's usually 2, 4 or 8. This is an Ender clone using trapezoid screws. – 0scar Jan 12 '22 at 00:09
  • @Oscar, I defer to your knowledge of this machine. I would still look first for some bending, binding, or damage in the Z drive system. The photo clearly shows a 5mm period, not 4. I will measure my Prusa I3 to see the lead. It is a multi-start screw, so the movement is larger than the spacing between the trapezoids. – cmm Jan 12 '22 at 00:43
  • If you know the steps-per-mm you can just compute it from that. – R.. GitHub STOP HELPING ICE Jun 10 '22 at 23:30
0

Try setting the z-seam to random in your slicer. In Slic3r it is Seam position under Advanced near the bottom of the Layer and perimeters page of the Print Settings.

Perry Webb
  • 2,158
  • 1
  • 8
  • 18