3

It is difficult to describe with words what's happening, so take a look at the picture. Somehow PrusaSlicer decides to move and print in the air (blue line), where instead it can continue going from outwards to inward. I understand it wants to print first the outer layer but in this case it is obvious it will not hold that layer.

The final position is shown in the second image.

prusa slicer

The final step of that layer: enter image description here

Any idea how to configure PrusaSlicer to avoid this situation?

Ico Re
  • 33
  • 3

5 Answers5

4

You'll want to turn on supports, which will create a series of low density pillars in the "floating" area and provide a foundation for the layer that is printing mid-air in your second image.

Another option is to create a hollow support cylinder perhaps a half millimeter larger diameter than the hole in the floating layer. This creates the support for the inner diameter and allows the printer to create bridges.

The former method will use more filament and take longer to print but provide a better under-surface than the latter method.

fred_dot_u
  • 10,532
  • 1
  • 10
  • 24
  • Thanks for your comment, but if the printing starts from outer layer and go inwards, there won't be need for supports, I don't think support in this situation are inevitable. – Ico Re Sep 11 '22 at 11:54
  • @IcoRe Unfortunately you are wrong, that will not work. In the end the circles will never have support and the little overlap between the walls is not enough to hold the next line. Furthermore, the infill itself will sag as it isn't supported either. You should change the print orientation (90° or 180° rotated) or support. – 0scar Sep 12 '22 at 06:48
  • @0scar: It actually will/does work. There's a [full control gcode demo](https://www.youtube.com/watch?v=c9b7Ey4LyCs) published just a few days ago, and I've been sketching out groundwork for slicing to do this right on and off since a year or so ago. It's purely a gratuitous slicer limitation at play here. – R.. GitHub STOP HELPING ICE Sep 12 '22 at 12:55
  • @R..GitHubSTOPHELPINGICE this is what I am looking for, what I did try is modify the order of the code manually, and then loaded again into the g-code viewer. it looked promising but I haven't got the time to try it in printing. – Ico Re Sep 12 '22 at 13:15
3

The inability to do this is not fundamental, but it's currently a limitation in slicing software, and not likely to change soon.

You can see from this demo that the kind of printing you want is possible. However, it's currently only being done with software to assist in hand-crafting gcode to make the printer do what you want it to do. The hard part is making the slicer automatically figure out that that's what it's supposed to do.

For your needs, just printing from outer loop inward here is not going to suffice. There needs to be overlap, computation to compensate for the fact that extrusion lines will not squeeze out to their nominal width because there's nothing below them to extrude against, and using the overlap in the XY direction to achieve that instead. This is all new stuff slicers have just not been programmed to do.

So for now, you need supports. If you're willing to use Cura, Conical Supports or Tree Supports will let you support this with less waste material and make removal easier. Alternatively you could design your own support into the model and put it just under the hole in the middle, letting the flat part bridge. Or you could make a sacrificial bridge layer so that the first layer is solid bridge all the way across, and cut/drill it out after the print is done.

  • 1
    It uses a certain percentage (up to 50 %) of overlap and spiraling, I can image that you need specific calculations for the slicer in that respect (less volume flow, more lines). So basically the answer still is that you cannot do this with PrusaSlicer. But, **this is pretty cool**! (+1), thanks for this cutting edge reference released 3 days ago. Note that this works for circular walls, for infill this may not work at all as the just deposited line may not be solidified enough, so there is need for changes in the slicer software. – 0scar Sep 12 '22 at 15:04
  • @0scar: Neat. I hadn't looked into the details, but that's comparable to what I expected from the sketches I'd worked out for my vaporware dream slicer. Basically you need enough overlap to cover the nozzle orifice except for an area that will fill the target extrusion width without exceeding the intended height - and at the same time, to bond well to the already-deposited material. – R.. GitHub STOP HELPING ICE Sep 12 '22 at 21:53
1

There is one way assuming the picture is complete, and that is to print the object upside down from it's current orientation. This would negate the need for any supports or worrying about printing in thin air.

If thats not possible then as Freds answer says, you need supports. If you're printing a run of the same objects you can make a support and insert it into the object at the correct layer and then re-use it for subsequent copies rather than print supports each time.

Kilisi
  • 1,207
  • 2
  • 11
  • 2
    We don't know the geometry of the complete object, but, nice addition of the reusable support! +1 – 0scar Sep 12 '22 at 08:57
  • Indeed the reusable support is a nice one, never thought of that. I tried already printing it upside down, that fixes the problem but also it creates one where it is more important to be "correct" there. I was curious if someone else have a solution for this slicing problem because I also experienced it in other previous models and not always turning it upside down will be an option. But many thanks for your valuable answer. – Ico Re Sep 12 '22 at 13:21
1

It isn't universally applicable but I have had success avoiding undesirable sagging in some situations by printing a part in two pieces, one inverted, and gluing the two "bed" surfaces together.

The software I use (Repetier 2.2.4) includes a setting "Cut Off Object Bottom" and accepts a dimension. For some objects it's possible to choose a cutoff point that will produce two pieces without overhangs that can be joined. The image shows a simple example.

Using the cut off option makes it possible to do this without making changes to the model.

Example

allardjd
  • 310
  • 1
  • 1
  • 10
0

How to configure PrusaSlicer to prevent printing in the air

You need either support or change the print orientation.

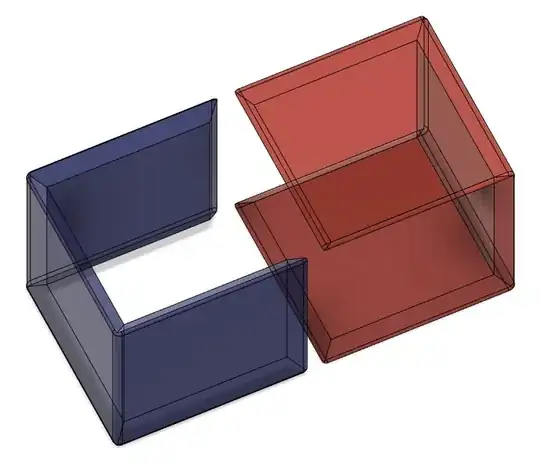
You cannot print into the air, you can however print lines on top of a prior layer with a certain overlap, or bridge a certain gap. E.g. (screw) holes are often covered with 2 layers over the screw hole so that you use bridging to print (the cutout shows that the hole has a bottom):

enter image description here enter image description here

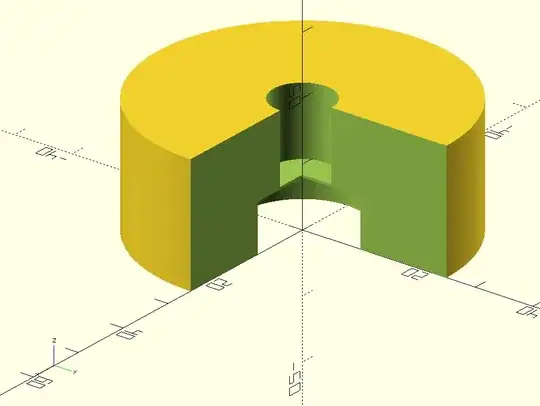
After printing you need to punch through the layers to open the hole.

Starting and stopping extruding in thin air will result in deposition of the extruded material on the location the nozzle crosses a prior layer (often seen when support structure pillars have fallen over).

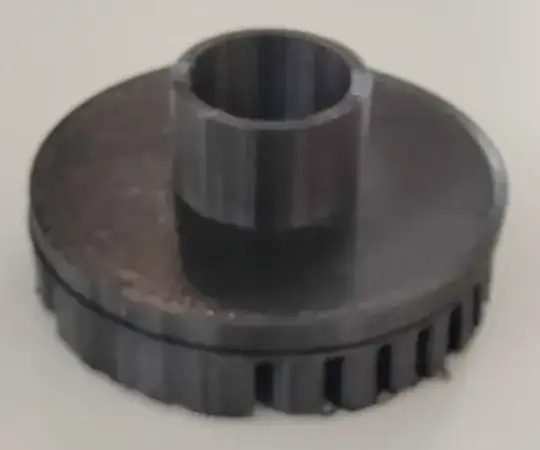
What is used frequently together with support in Ultimaker Cura is the option called Enable support roof, this will create a dense top layer on top of the support interface which allows for pretty good bottom surface of the overhang.

This e.g. results in the following slice:

enter image description here

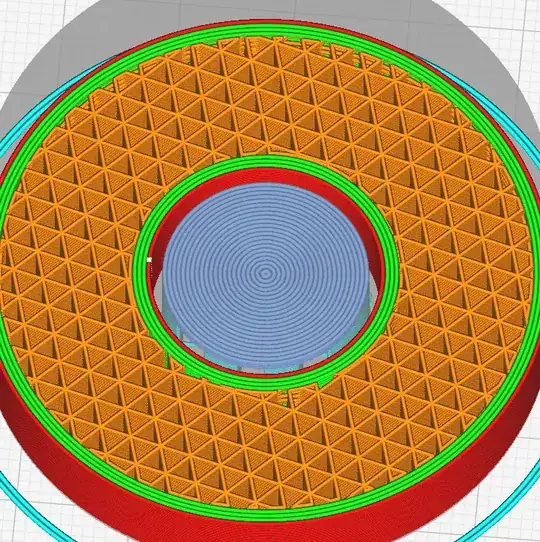
When applied to a recently printed flanged tube you see that the bottom surface is pretty good (note the concentric lined top surface, first image shows the product with support, second image, on the left a view of the bottom above support layer and right the support with roof layer):

enter image description hereenter image description here

How to configure PrusaSlicer to prevent printing in the air

In PrusaSlicer you should be able to something pretty similar with Interface pattern spacing set to zero:

enter image description here

0scar
  • 32,029
  • 10
  • 59
  • 135