
Introduction
If you want to upgrade the GPU, the graphics card or even the storage capacity. You might also need to upgrade motherboard for the upgrades to be compatible. Follow this guide to safety remove the motherboard.
-
-
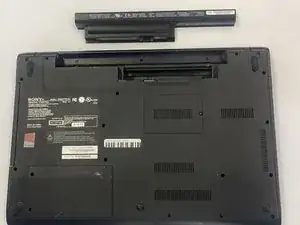
Once you flip the laptop over, make sure the right tab is pushed upwards so it can be unlocked.
-
Use your left hand to push up the left tab to release the battery.
-
-
-
After the battery is released, located the small gap where the battery and the shell meet.
-
Lift the gap up and rotate the battery up and away from yourself.
-
-
-
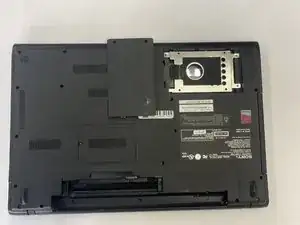
Once the hard drive cover been removed, you will need to remove three more screws on the hard drive disk.
-
-
-
When finished removing the screws, use your fingers to hold the blue ribbon attached from the hard drive to remove it from laptop
-
-
-
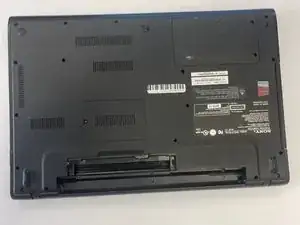
Remove all screws holding the back panel from the laptop and pull the back panel to remove it
-
-
-
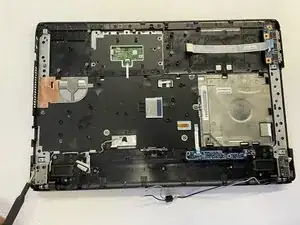
Remove the motherboard carefully. Be careful on the cable connected to the motherboard if there is any. If found any cables connected to the motherboard still. Remove first before continue
-


To reassemble your device, follow these instructions in reverse order.
