
Introduction
During all steps, handle every component with care as they are very delicate electronic parts.
Tools
Parts
-
-
Using the plastic opening tool, starting at any corner on the tablet, insert the tool between the back panel and the front panel.
-
Slide tool around the tablet to unlock the panels from one another.
-
-
-
Carefully remove the back panel from the front panel.
-
The inner components of the tablet will now be exposed.
-
-
-
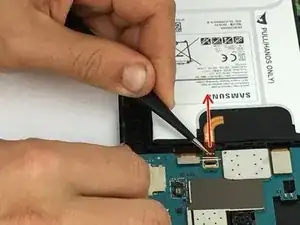
Using tweezers, gently lift the black tab locking the wire connecting the battery to the motherboard.
-
Pull wire from connector.
-


To reassemble your device, follow these instructions in reverse order.

One comment
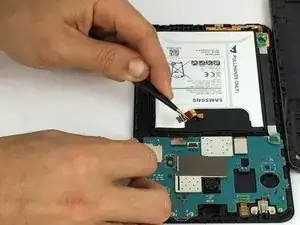
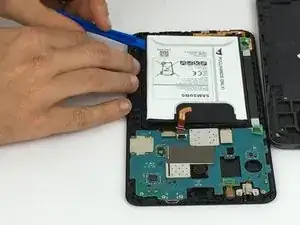
I found there was a layer of double-sided tape backing the battery, and I had to use a flathead screwdriver to get enough force to lever it up. This does not significantly change the guide.
brunius -