Introduction
The purpose of this tutorial is to help you replace the keyboard connection cable connector locking flap on a MacBook Pro Retina. It is applicable to all types of ZIF connectors for flexible cables used by Apple. It requires a lot of dexterity and ideally fine tweezers.
Tools
-
-
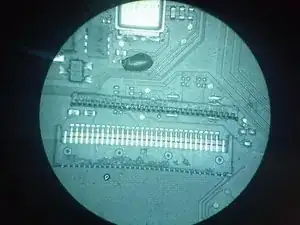
A Locking flap with the markings "DDF" and "30d" visible on the top is shown in the first photo. It is positioned in the right direction to be replaced.
-
If the locking flap is positioned the wrong way it is easy to turn it around.
-
-
-
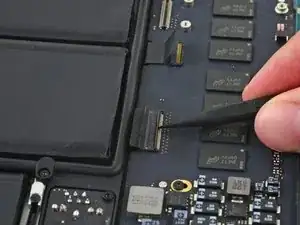
Lift the back of the locking flap to position it vertical to the ZIF connector.
-
Insert one side of the flap first. A slight resistance will be felt before it is positioned.
-
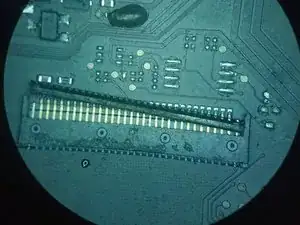
The gold pins of the connectors must fit inside the flap. The "grid" of the flap is therefore positioned between the gold pins and the silver pins.
-
-
-
Finish by inserting the left side in the same way as the right side.
-
Finish by pushing the flap as far as possible inside the connector.
-


You can now resume reassembly where you left off.