
Introduction
The LCD screen might need to be replaced due to either physical damage or hardware malfunction. It is a fairly simple process but take care not to damage the motherboard when replacing the LCD screen.
-
-
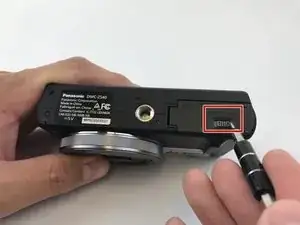
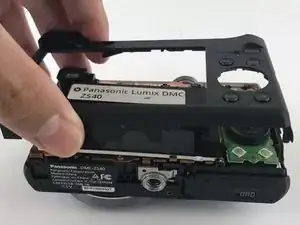
Find the battery/memory card door on the bottom right of the camera.
-
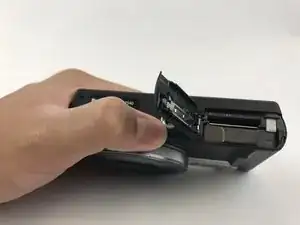
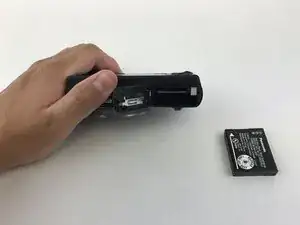
Use your finger or screw driver to slide the grey latch from the locked position to the open position. This will swing open the door.
-
-
-
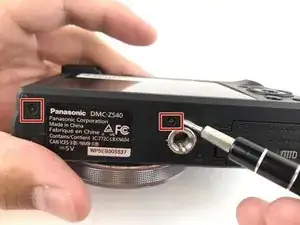
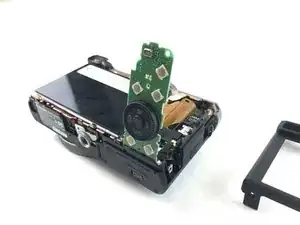
Unscrew the five 3mm screws located around the sides of the camera using a PH000 bit or Phillips 000 Screwdriver.
-
-
-
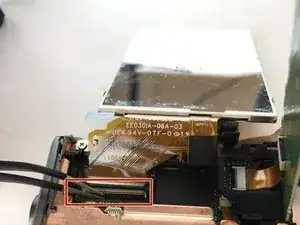
Turn the LCD screen over to the side exposing the connection to the motherboard.
-
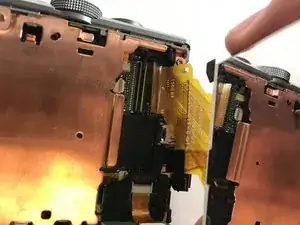
Remove the display data cable connecting the LCD screen to the motherboard. Using tweezers, pry up the black retaining flap then gently pull the display data cable free.
-


To reassemble your device, follow these instructions in reverse order.

One comment
The photo in step #7 is helpful but not sufficiently detailed to explain how the Panasonic ribbon connector works. Fortunately, Panasonic has a very detailed video about how these connectors work: https://www.youtube.com/watch?v=5-tBX1UN... (The helpful part of the video starts at 1:24)
It is recommended that you use a soft-tip instrument to flip the connector’s latching bar upward to release the ribbon cable. Then insert the ribbon cable from the replacement screen and carefully press the bar back down.