
Introduction
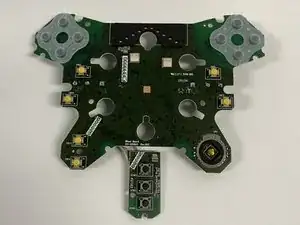
This guide shows how to replace the motherboard on the Logitech G29 Driving Force steering wheel. This PCB includes the steering wheel buttons which are responsible for navigating the game menus and various selections and functions during gameplay.
This repair may be necessary if the device will not navigate through the menu or functions in the game can not be completed. Always have a clean workspace and make sure the device is disconnected from the power supply and devices.
-
-
Remove the six 10mm long #00 Phillips head screws from the back of the steering wheel. Rotate the steering wheel 60 degrees per screw until all 6 screws are removed.
-
-
-
Remove the 6 10mm long #00 Philips head screws that hold the circuit board to the steering wheel.
-
-
-
Remove the two 8mm long #00 Philips head screws holding the smaller circuit board onto the steering wheel.
-
-
-
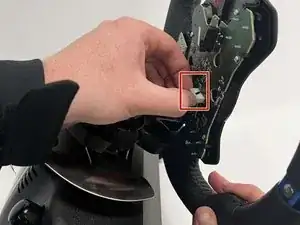
Gently lift the circuit board off the steering wheel. replace the circuit board with the new part.
-


To reassemble your device, follow these instructions in reverse order.