Introduction
When dealing with specialized enterprise hardware, in some cases, it is more efficient and cost effective to repair and troubleshoot problems yourself.
If you are encountering problems with your Dell OptiPlex 9010 graphics card, you may need to replace it. This guide will take you through the necessary steps to get your Dell OptiPlex 9010 working in no time.
Before we begin be sure to power down your machine and unplug from any power source.
Tools
-
-
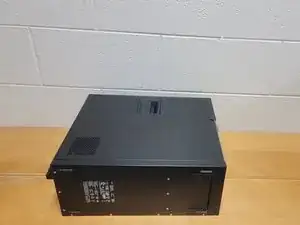
Lay the computer on its side, on the flat surface. Start by removing (and setting aside) any screws holding the access panel in place. Then grip the access panel hatch and pull up to remove it.
-
-
-
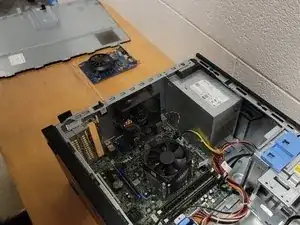
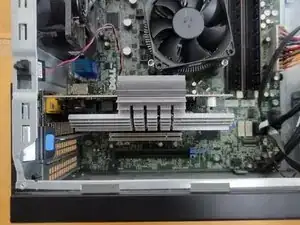
Grip the access panel with both hands to fully remove the access panel. This will give you a complete look into the internal hardware.
-
-
-
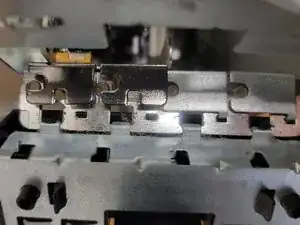
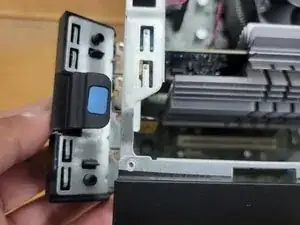
Push down on the release tab on the card retention latch to free the existing (old) graphics card.
-
-
-
Unlatch the PCIE clip. Gently remove the existing (old) graphics card to make sure there are no cables caught.
-
-
-
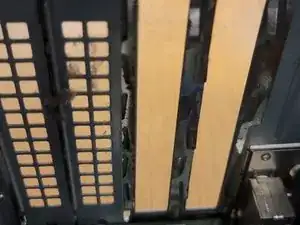
Add or remove expansion slot covers based on the number of slots your new graphics card requires.
-
-
-
Firmly place the new GPU on the bus (into the slot). Reclip the PCIE clamp to hold it into place.
-
-
-
Check to make sure the new GPU card is properly positioned to fit with the screw holes and expansion slots.
-
-
-
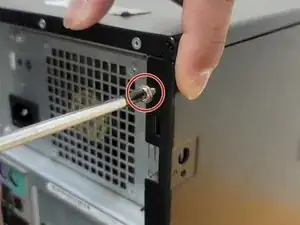
Screw in any 6-32 Philips screws (any that are from 1/4 to 1/2 inch long) with your Philips head screwdriver to properly secure your new GPU card.
-
-
-
Screw in any previously removed 6-32 Philips screws with a Philips head screwdriver to secure the access panel in place.
-