Introduction

Documentation of disassembly of the entire phone.

  1. CoptNBwmqadubQuW
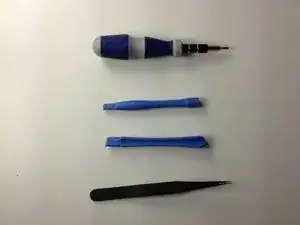
    • Start with gathering tools needed

  2. 1YJS4ocmlAlbMYZi
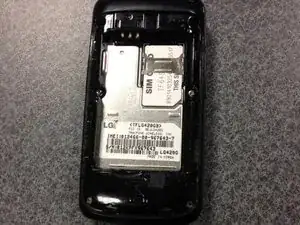
    • Start with the back of the phone (the battery and cover has already been taken out.)

  3. wFWpa25TTRZqErGp
    wFWpa25TTRZqErGp
    lEiQ1KaWQNShHRxa
    • Place finger to take out the sim card. Then take out sim card.

  4. 16PKUVKrET5JsRrt
    • Locate Screws

  5. I11VI2OwV1DJ4RiP
    I11VI2OwV1DJ4RiP
    6ls4xaQvRPwxVkG1
    • Unscrew the six screws.

  6. hJ3xwMgMevuuSTWS
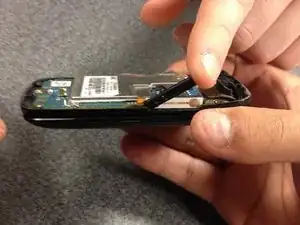
    • With tweezers, pry around the sides to expose the circuitry.

  7. ESD3ikSX4Inkc4JO
    • Remove the back part of the phone to expose the layers inside.

  8. 1RbLGBXNWf1a2YCQ
    1RbLGBXNWf1a2YCQ
    TiZL12uYMonbAyWb
    • Remove small parts from the sides.

  9. 6Ir6xnxjkbBvpyFt
    • Remove the layer connected with the keypad.

  10. D5Tje1sNSdnlcXFs
    • Release the keypad from the phone frame.

  11. q2TKLMIMolRSERiZ
    q2TKLMIMolRSERiZ
    3jeweEOS56xOWYs1
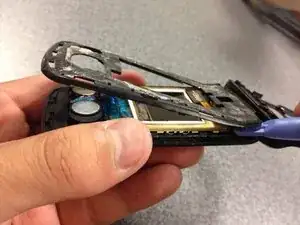
    • With a prying tool, start opening the front face of the phone.

  12. AMHAWXcItg4UFbUJ
    • Remove the front cover, exposing the layers inside.

  13. WUqUgQdNbf4CeCNL
    • Pry open the glued layer.

  14. Y33hrZRGMxVqJidF
    • Remove all loose part, and should result in the components shown in the picture.

Conclusion

To reassemble your device, follow these instructions in reverse order.
Anthony Aquino

Member since: 10/04/14

155 Reputation

0 comments