Introduction

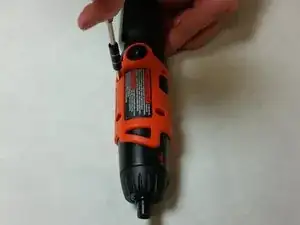
Use this guide to remove or replace the circuit board in your Black and Decker LI2000.

  1. FxUQHaFXBBWDEdga
    FxUQHaFXBBWDEdga
    yTkaMN6UyjstKsTN
    oVTmmmgUBASMYQFH
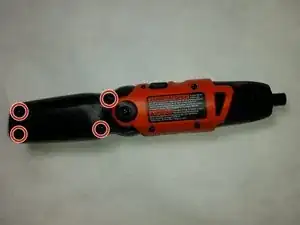
    • Remove the following five screws

    • Three 20 mm Phillips #1 screws

    • One 10 mm #000 Phillips screw

    • One 13 mm Phillips 31 screw

    • When you remove the 13 mm screw, the spring may pop out of the screwdriver. Point the backside of the screwdriver away from your face and others.

  2. QDlNel2OsDxDDcwW
    • Remove the black sticker with recycling information.

  3. tECvLjDYhnRy44Jg
    • Use your fingers or a plastic opening tool to pry the casing apart.

  4. ZWUT2ltVjCSLGayD
    • Remove the plastic slider by picking it up off the screwdriver.

    • You may consider leaving half of the casing on the screwdriver to make handling the screwdriver easier.

  5. RxD6ZUI4QWo6Annr
    RxD6ZUI4QWo6Annr
    BuXFLHeZFI4XQHUp
    • Remove the four 15mm Phillips #1 screws.

  6. nMYCeoLiF6m3dDo4
    nMYCeoLiF6m3dDo4
    gHQTkJODLP2M22LD
    • Use a plastic opening tool to pry the casing apart.

  7. BZWpQMvp1StuaEBd
    BZWpQMvp1StuaEBd
    EGXtdgtkaMdyONEE
    • Using pliers or your fingers, remove the leads off of the battery.

    where did you get the new battery?

    jack isme -

    YA, don’t find on e-bay or on B&D site. Need PN at least.

    Tom

    Thomas Patridge -

    This is what I got from eBay: https://www.ebay.com/itm/4PCS-18650-2600...

    You have to fudge a bit as the tabs fit the connectors, but are not exactly oriented the same as the original battery.

    Jeff McDermaid -

  8. sGMBWCnH2bfTtX1I
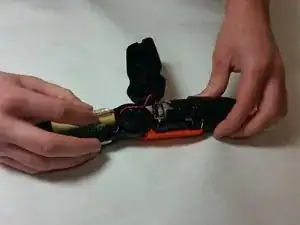
    • Refer to the Soldering Technique Guide to remove the wires on the circuit board that connect the charging adapter by applying heat from iron to existing solder on the board.

    • Keep track of which wire connected to which part of the board.

  9. Zs3pOtCPwUOOTTAF
    • Refer to the Soldering Technique Guide to remove the wires from the circuit board that connect to the battery by heating the existing solder on the leads.

    • Keep track of which wire was connected to which part of the circuit board.

Conclusion

To reassemble your device, follow these instructions in reverse order.

Katherine Simmons

Member since: 08/02/16

711 Reputation

0 comments