Introduction

This is a prerequisite-only guide! This guide is part of another procedure and isn't meant to be used alone.

  1. HPhuetqYflX5CeT5
    HPhuetqYflX5CeT5
    rXLCOyP5qywNFGEW
    • Use a Phillips screwdriver to remove the 10 screws securing the lower case:

    • Six 12 mm screws

    • Four 4.5 mm screws

  2. dylbWEGULAWP1TvI
    dylbWEGULAWP1TvI
    bDAUAVD4NvmNoLcp
    • Insert an opening pick between the lower case and the chassis on the front right edge.

  3. N6WRCXbxdBc1igll
    N6WRCXbxdBc1igll
    wfFUZOqUNyTNuUmL
    t55IUEGMClDEhZpG
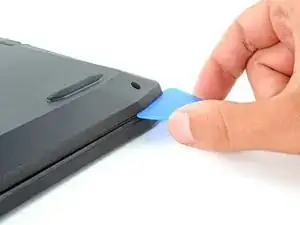
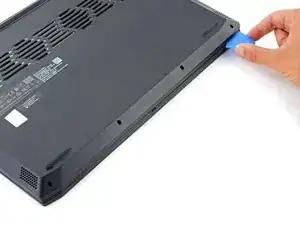
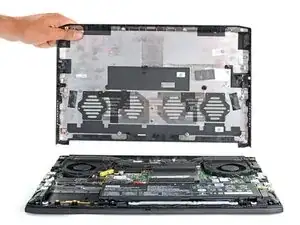
    • Slide the pick along the front edge to release the clips securing the lower case.

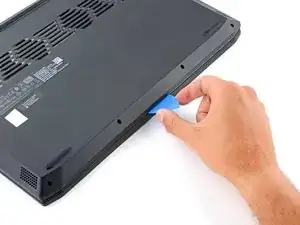
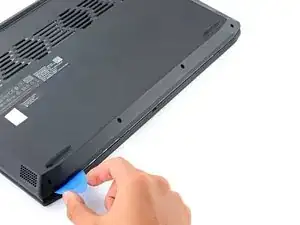
    • Continue sliding the opening pick along the left and right edges to release the remaining clips.

  4. aFGUYH6XSscA3rpf
    aFGUYH6XSscA3rpf
    qUNUjcKWs6u63m1V
    cBetHH2deID2UNXl
    • Lift the lower case from the chassis and remove it.

    • During reassembly, this is a good point to power on your laptop and test all functions before sealing it up. Be sure to power your laptop back down before you continue working.

  5. BvlLv5VLwbsbfbAf
    BvlLv5VLwbsbfbAf
    CFWPhS4XTQsy2SK6
    6dwh1PKQLUPl4Jrj
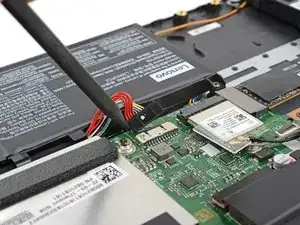
    • Use the pointed end of a spudger to push each side of the battery connector until it comes out of the socket.

Conclusion

To reassemble your device, follow these instructions in reverse order.

Spencer Day

Member since: 14/09/22

9061 Reputation

0 comments