
Introduction
This replacement guide requires working on the internals of the desktop. This could void any remaining warranty.
This guide also requires close-proximity to exposed electronics. Please ensure that the PC is both powered off and disconnected from the wall.
Parts
-
-
Remove the sidepanel by unscrewing the two screws fastening the panel on the rear. Once unscrewed, slide the panel towards the rear until it releases then lift away.
-
-
-
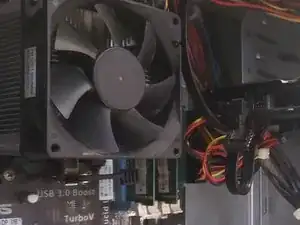
Unplug the CPU fan connector from the motherboard.
-
Then open the latch under the CPU fan and unhook the metal fasteners.
-
Lift the CPU heatsink and cable off of the CPU carefully.
-
-
-
Clean both the CPU top and the heatsink bottom by slightly moistening a paper towel with rubbing alcohol and rubbing lightly.
-
Grab your thermal paste and put a pea-sized amount in the middle of the CPU top.
-
Gently replace the heatsink on top of the CPU and re-lock the heatsink fasteners.
-
Replug the CPU Fan connector to the motherboard header.
-


Replug the computer and turn it on. If the fan spins, reattach the sidepanels and the replacement is complete.