
Introduction
This is a guide for a full replacement of the display on an ACER Aspire V5 Laptop.
Parts
-
-
Start by placing laptop on non-static surface and powering off completely. Apply static resistant wristband.
-
-
-
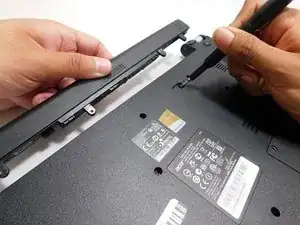
Use a pointed tool (we used a screwdriver) to slide release to the right when facing laptop from non-battery side.
-
Gently pull battery away from laptop with slide release held open.
-
-
-
Remove all twenty 6.7 mm Phillips #0 screws from the bottom side of the laptop.
-
Turn the laptop over and open the lid.
-
-
-
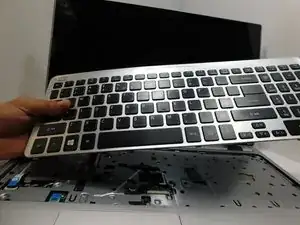
Use a Jimmy tool to slide between the keyboard and top panel. Gently pop the tabs out of their slots and the keyboard will come loose. DO NOT PULL KEYBOARD OUT YET.
-
Once cables are safely detached, lift keyboard off of laptop and place on safe, non-static surface.
-
-
-
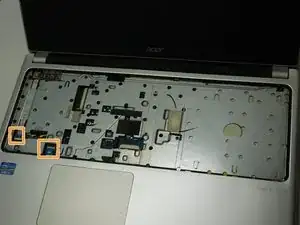
Use a Phillips #0 screwdriver to remove the six screws.
-
Flip up the block lock bars on the two ZIF connectors, then gently disconnect the two ribbon cables.
-
-
-
Slide the Jimmy Tool in between front and back panel of the laptop.
-
Slowly rotate the Jimmy tool, prying until the top panel pops loose. Repeat on all sides until the top panel is free of main body.
-
Gently lift top panel free of main body. You now have access to the Motherboard.
-
-
-
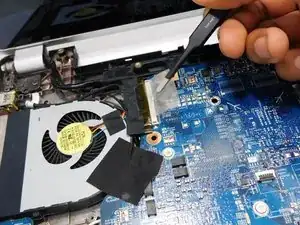
Once the top panel is removed, lift the tape that holds the power cable for the fan.
-
Gently pull fan power cable out.
-
Use tweezers to gently pull charging port out of place.
-
-
-
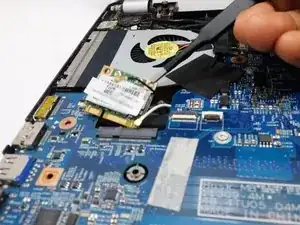
Use tweezers to gently detach black and white Wi-Fi card cables shown here by lifting up until they pop off.
-
Once both cables are detached, unscrew the single screw holding Wireless LAN card in place.
-
The Wi-Fi card should lift up slightly on its own. Use tweezers to gently lift the Wi-Fi card out at a 45 degree angle to prevent damage.
-
-
-
Place fingertips on edges of motherboard to prevent damage to the circuitry.
-
Remember to disconnect this RAM cable on the bottom of the laptop. This can also be accessed and disconnected from the RAM ports on the backside.
-
Using your fingertips, grip the edges of the motherboard to prevent damage to the circuitry.
-
-
-
Use tweezers to gently lift the tape holding down the white cable until tape is unstuck. Unthread black and white cables until free of the bottom panel.
-
Unscrew the Phillips #0 left side screws until left side of display is now lose.
-
Do the same for the two flat screws on the right side.
-
-
-
Display should now lift free of the main body of the Laptop.
-
Safely dispose of broken display and replace with new display.
-


To reassemble your device, follow these instructions in reverse order.
